- ISO 9001 • ISO 14001 • IATF 16949 Certified
Quality Built Into Every Step, Not Just Checked at the End
Our 5-stage quality control system catches issues before they become problems. From incoming materials to final packaging, every part is inspected, documented, and traceable.
Prevention, Not Detection
At ZAK, we believe that quality is engineered, not inspected; quality control isn’t a final checkpoint, it’s embedded in every process. Our approach is built on a simple principle: prevent defects from occurring rather than finding them after production.
With 40 years serving global OEMs like Honda, Midea, Carrier, and Panasonic, we’ve learned that consistent quality comes from consistent systems. Every operator is trained to be an inspector. Every machine is calibrated to specification. Every part is documented and traceable.
This engineering-driven culture means fewer surprises, lower rejection rates, and on-time delivery on every batch. Save your time and cost.





Our 5-Stage Quality Control Process
Multi-process manufacturing demands multi-stage inspection. Quality gates at every critical point. Every team member, from the shop floor to the shipping dock, is empowered to stop the line if a standard is not met.
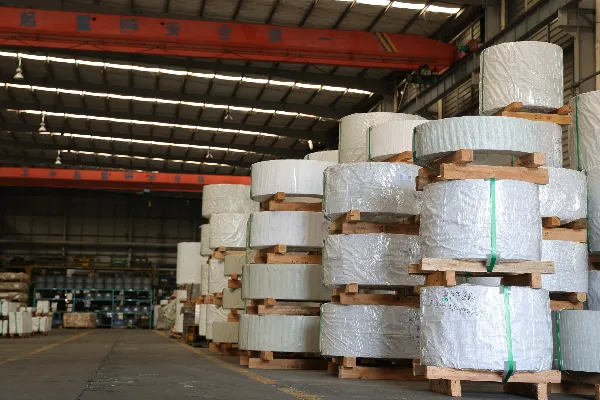
Incoming Material Inspection
Every raw material is inspected before entering production. We verify material certificates, checkdimensional accuracy, and confirm surface quality against specifications.
What We Check:
- Material certificates and mill test reports
- Dimensional accuracy (thickness, width, length)
- Surface condition (scratches, rust, contamination)
- Chemical composition verification (when required)
- Material grade confirmation against order specifications
First Article Inspection
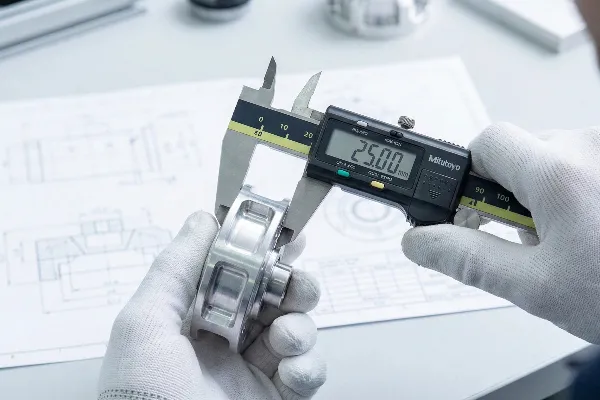
Before mass production begins, we produce and thoroughly inspect sample parts to verify tooling setup,dimensional accuracy, and process capability.
What We Check:
- Full dimensional inspection against drawings
- Tolerance verification on critical dimensions
- Visual inspection for surface defects
- Functional fit testing (when applicable)
- Process parameter documentation
In-Process Quality Control
Throughout production, our quality team conducts regular inspections at each process stage. We monitorstamping, fabrication, welding, and finishing operations in real-time.
What We Check:
- Dimensional sampling every 2 hours during production
- Visual inspection for defects
- Process parameter monitoring (pressure, temperature, speed)
- Tooling wear and calibration status
- Workmanship standards compliance
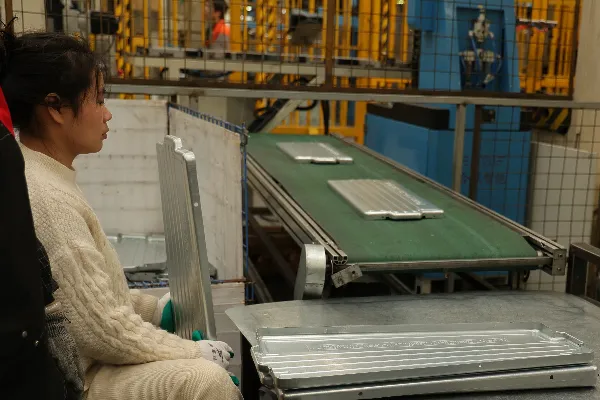
Final Quality Control
Every completed part undergoes final inspection before moving to packaging. We verify all dimensions,check functional requirements, and confirm visual quality against customer standards.
What We Check:
- Complete dimensional verification (CMM for complex parts)
- Visual inspection against limit samples
- Functional testing where applicable
- Surface finish and coating inspection
- Assembly fit verification (for multi-component products)
- Quantity confirmation
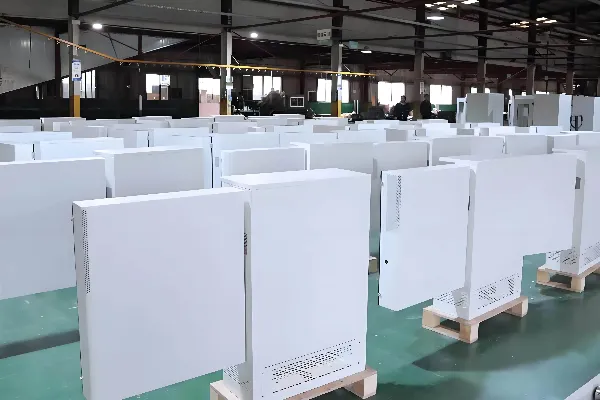
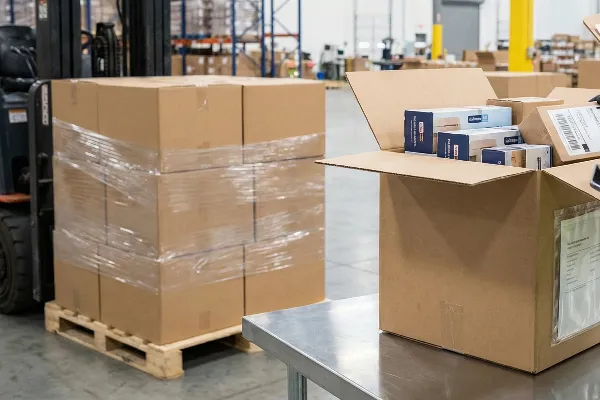
Outgoing Quality Control & Pre-Shipment Inspection
Before any order leaves our facility, we conduct a final verification of product quality, packaging integrity,and documentation completeness.
What We Check:
- Random sampling from packed orders (per AQL standards)
- Packaging condition and protective materials
- Labeling accuracy (part numbers, quantities, barcodes)
- Documentation completeness (inspection reports, CoCs, test reports)
- Packing list verification against order
Precision Inspection Equipment
Our quality lab is equipped with advanced metrology equipment to verify dimensions, materials, surface quality, and coating performance.
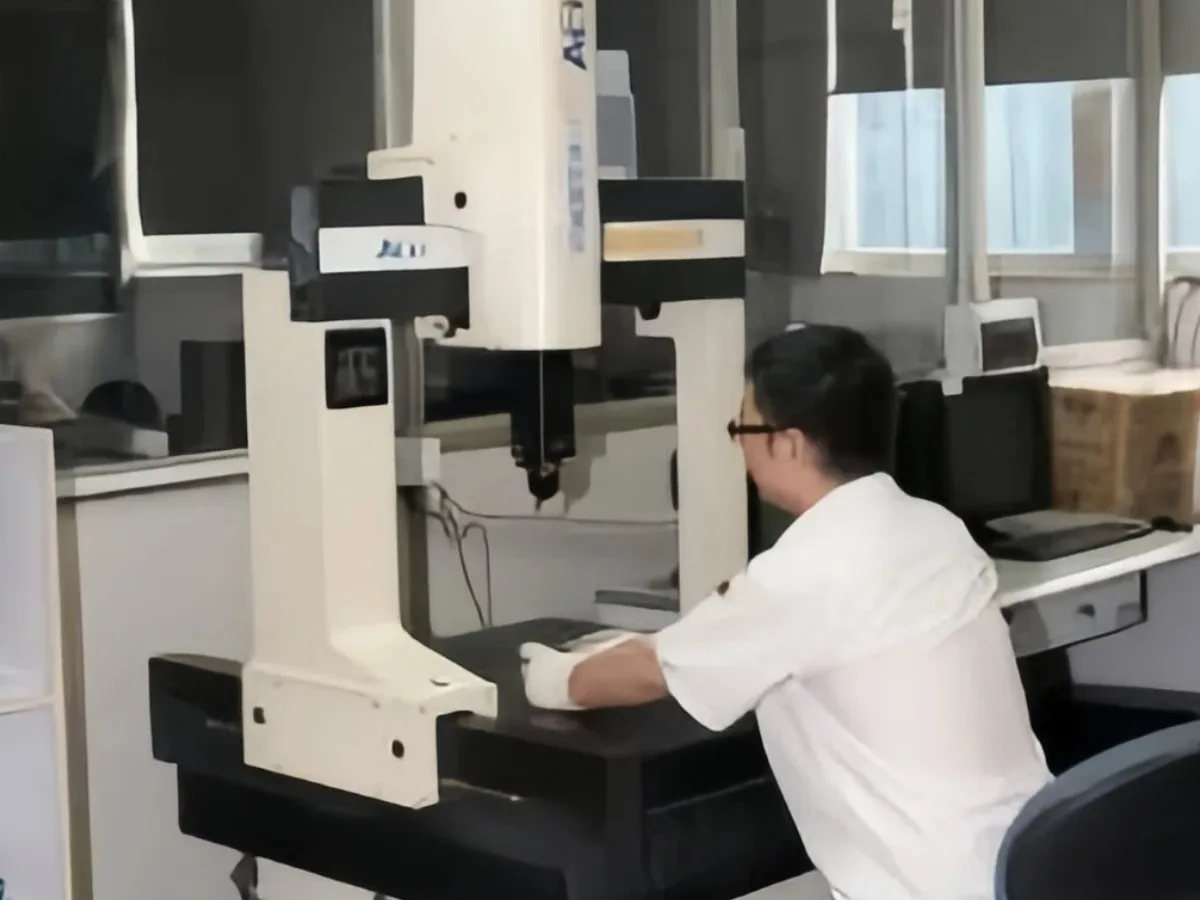
3D dimensional measurement for complex geometries, precision parts verification, and GD&T inspection.
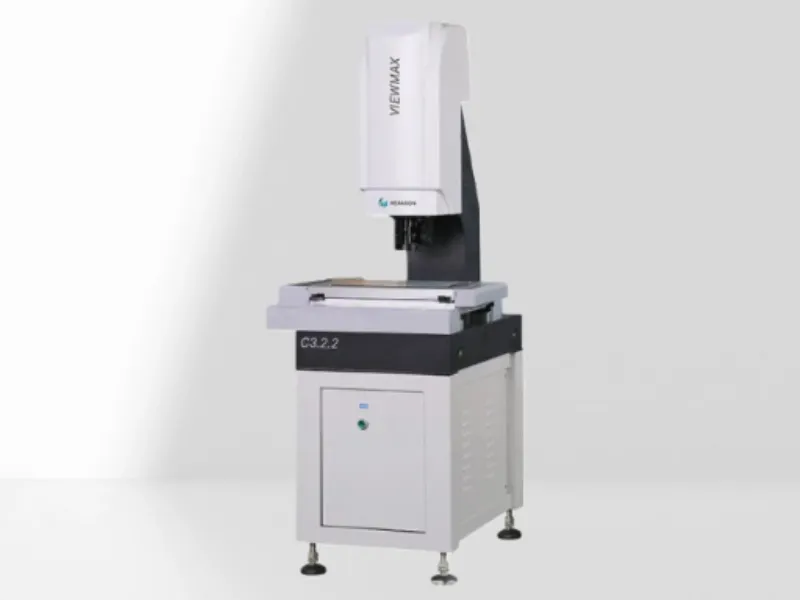
2D profile inspection and contour verification for stamped parts, bend angles, and edge quality.
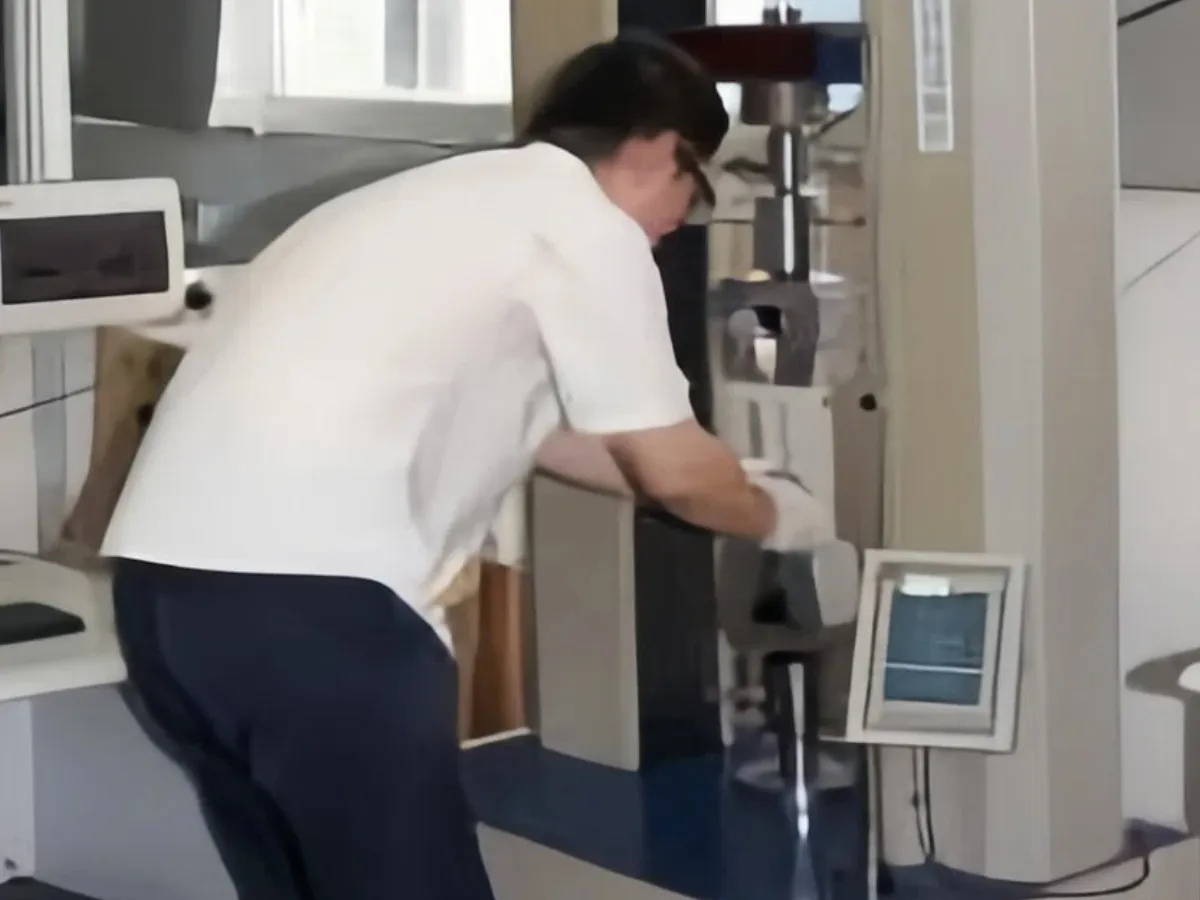
Tensile strength, yield strength, and elongation testing for material verification and quality assurance.
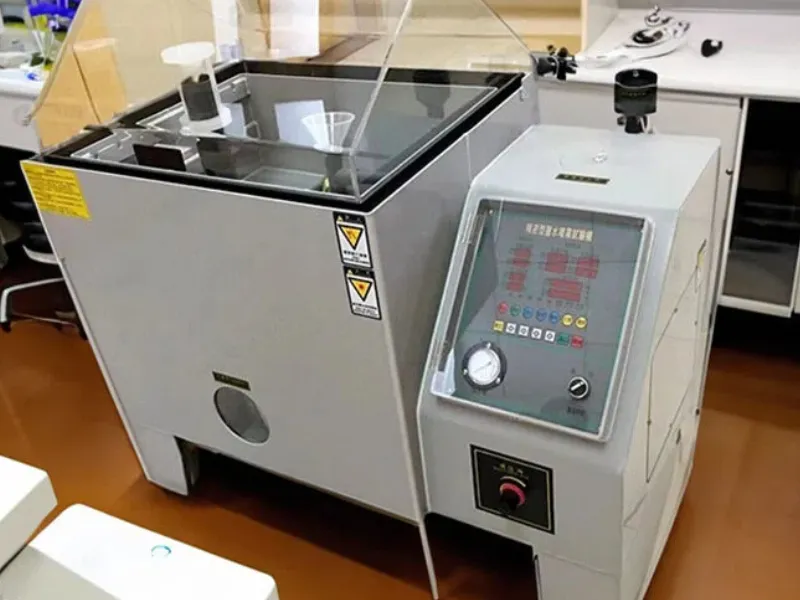
Corrosion resistance testing for plated, painted, and coated parts per ASTM B117 standards.
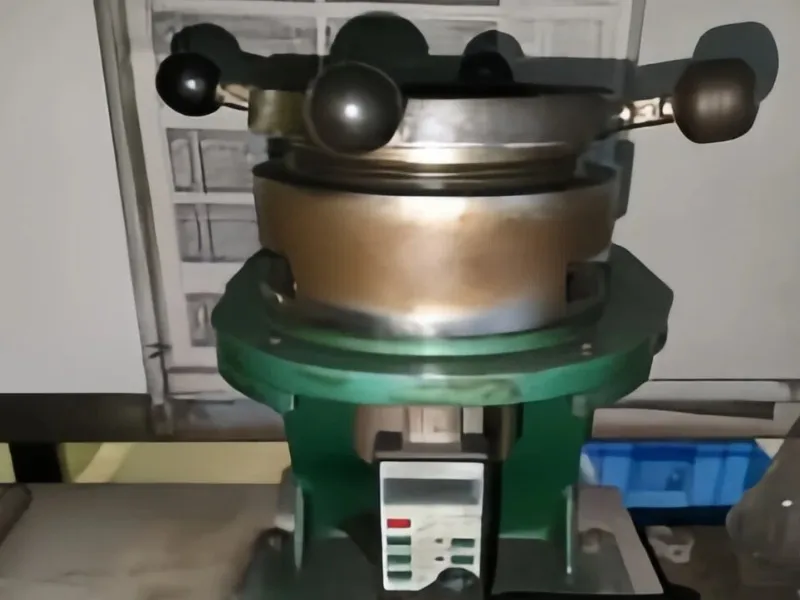
Erichsen cupping test for coating adhesion and sheet metal formability evaluation.
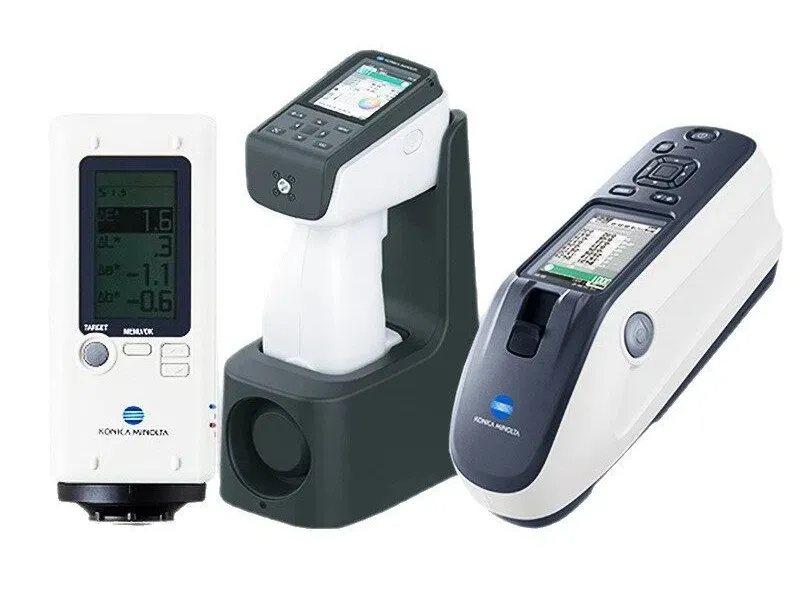
Color consistency measurement and Delta E verification for powder coating and paint finishes.
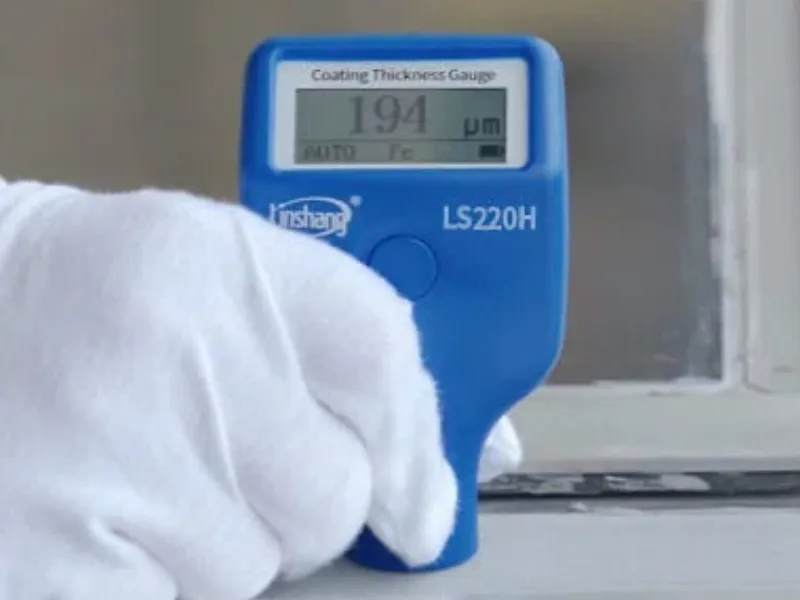
Non-destructive coating thickness measurement for powder coating, plating, and anodizing verification.
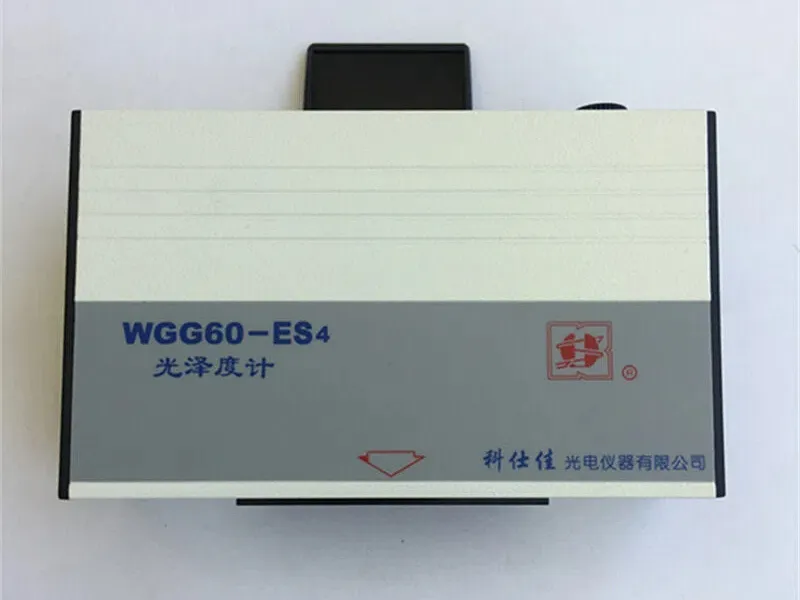
Surface gloss measurement at 60° for paint, powder coating, and polished surface quality control.
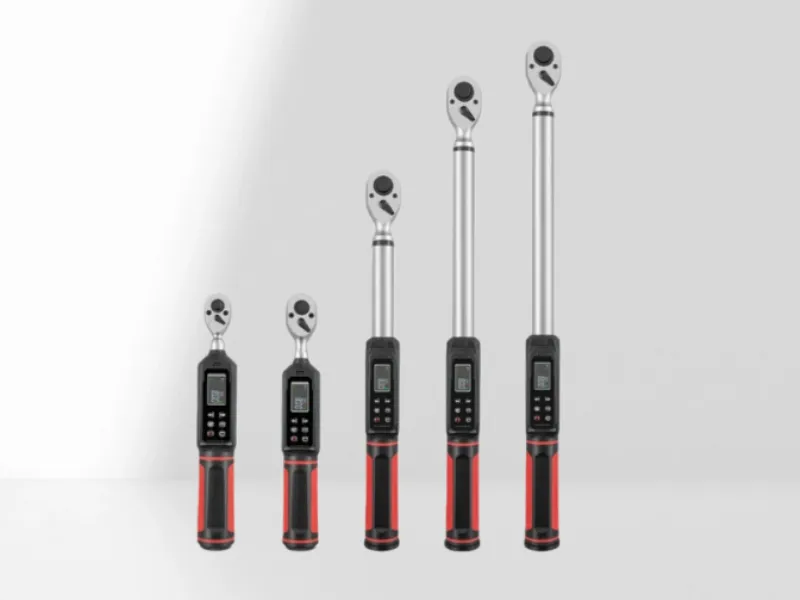
Fastener torque verification for assembled products and hardware insertion quality control.
Certified to International Standards
Our quality management system is certified to international standards, providing the documentation and process rigor global OEMs require.
- Systematic quality processes across all operations
- Continuous improvement framework (PDCA)
- Environmental compliance built into operations
- Automotive-grade quality requirements
- Regular third-party audits and surveillance
Quality Management System certification ensuring consistent product quality and customer satisfaction.
Environmental Management System for sustainable and responsible manufacturing practices.
Automotive Quality Management System standard required by global automotive OEMs.
Environmental compliance certifications for hazardous substance restrictions and EU market access.
Full Documentation & Traceability
Every order documented. Every part traceable. The documentation international buyers need.
- ✓ Certificate of Conformance (CoC)
- ✓ Dimensional Inspection Reports
- ✓ Packing List with Part Numbers
- ✓ Material Traceability Information
- + First Article Inspection Report (FAIR)
- + Material Test Certificates (MTC)
- + PPAP Documentation Package
- + Salt Spray / Coating Test Reports
Complete Traceability Chain
Batch
Date
Operator
Records
Batch
Quality Control for Multi-Process Manufacturing
ZAK focus on metal products require multiple processes: stamping, laser cutting, bending, welding, and finishing. Each introduces quality variations that can compound.
Our quality system is designed for multi-process manufacturing—with process-specific inspection at each stage, in-house control of all processes, and coordinated planning across the full sequence.
Stamping
Precision forming with tight tolerances
Key Inspection Items:
- Burr height and edge condition
- Bend angles and radii
- Hole dimensions and positions
- Surface marks and scratches
- Material thickness verification
QC Method: First article inspection before production, in-process sampling every 2 hours, 100% visual inspection for critical features.
Laser Cutting
Clean cuts with minimal heat distortion
Key Inspection Items:
- Edge quality and smoothness
- Dimensional accuracy (±0.1mm)
- Heat-affected zone assessment
- Kerf width consistency
- Part squareness and flatness
QC Method: Automated nesting verification, first-piece dimensional check, edge quality inspection per cutting batch.
CNC Bending
Accurate angles with springback compensation
Key Inspection Items:
- Bend angles (±0.5°)
- Springback compensation verification
- Positional accuracy of bend lines
- Flange length consistency
- Surface condition at bend areas
QC Method: First article with CMM or angle gauge, in-process checks with digital protractor, go/no-go fixtures for high-volume parts.
Welding
Strong joints with consistent quality
Key Inspection Items:
- Weld penetration depth
- Bead appearance and uniformity
- Spatter control
- Distortion and warpage
- Weld strength (destructive testing for samples)
QC Method: Visual inspection per AWS D1.1/D1.3, weld procedure qualification, welder certification records, periodic destructive testing.
Surface Finishing
Durable coatings with consistent appearance
Key Inspection Items:
- Coating thickness (per specification)
- Adhesion (cross-cut test)
- Color consistency (Delta E < 1.0)
- Coverage and uniformity
- Salt spray resistance (hours per spec)
QC Method: Thickness gauge measurement, adhesion testing per batch, colorimeter verification against master sample, salt spray testing for qualification.
When Issues Happen, We Respond Fast
No manufacturing process is perfect. What matters is how problems are handled. Our corrective action process ensures issues are resolved quickly with full transparency.
Immediate Containment
Isolate affected inventory, halt production if necessary, and assess the scope of the issue.
Within 24 HoursRoot Cause Analysis
Investigate using 5-Why methodology and 8D problem-solving framework to identify true cause.
Within 72 HoursCorrective Action Implementation
Implement fixes, update work instructions, retrain operators, or modify tooling as needed.
Agreed TimelinePrevention & Verification
Add preventive measures to avoid recurrence, verify effectiveness through follow-up inspection.
Ongoing MonitoringDocumentation & Closure
Complete 8D or CAPA report with full documentation and lessons learned for your records.
Upon CompletionOur Commitment to You
See Our Quality Standards in Action
Choose how you'd like to learn more about our quality capabilities and processes.
Detailed overview of our equipment, certifications, and quality capabilities.
Download PDF